A destructive weld test means you make spot welds on scrap pieces that match the car, then tear them apart to see if the welds were strong. You do it before you weld the car, so you know your welder settings are right. Many vehicle makers ask for test welds in their repair procedures, and the procedure decides how the test is done. Here is a plain guide to spot weld testing in a body shop.
Why OEM Procedures Ask for a Destructive Weld Test
You cannot see inside a spot weld. A weld can look fine on the outside and still be too small or too weak inside. A dependable way to check is to break a sample and look at what is left. That is why so many repair procedures tell you to make test welds first.
Settings that worked yesterday may not work today. Metal type, thickness, coatings, the number of layers, and glue in the joint all change how a weld forms. Worn tips change it too. A quick test on matching scrap catches these problems before they end up in a customer’s car.
How to Do a Destructive Weld Test Step by Step
Always start with the vehicle maker’s repair procedure, since it may list its own test steps and nugget sizes. If the procedure and this guide ever differ, follow the procedure. The basic steps look like this:
- Make test coupons. Test coupons are small strips of metal that match the repair: same metal type, same thickness, same coating, and the same number of layers. If the joint uses glue, add it to the coupons too.
- Set up the welder. Set your spot welder for the metal and thickness, using the same arm and tips you will use on the car.
- Make the test welds. Prep the coupons the way you will prep the car, then weld them.
- Pull them apart. For a peel test, clamp one coupon and peel the other off with pliers. For a twist test, weld two strips in a cross shape and twist them apart.
- Measure the nugget. The weld nugget is the round button of welded metal. Measure across it with a caliper.
Reading the Result and Writing It Down
A good weld usually tears a round button out of one coupon, leaving a hole in that strip. The button should meet the size the procedure lists. I-CAR, the industry training group, gives a general rule of thumb: a nugget at least five times the thickness of one sheet. For two sheets that are each 1 mm thick, that means a nugget of at least 5 mm, but the OEM number always wins.
A bad result looks different. The strips may pop apart flat at the joint with little or no button, or the button may come out too small. That tells you the settings, the tips, or the prep need work. Fix the problem, run new coupons, and do not weld the car until a test passes.
Then write it down. Mark the technician’s name, the repair order number, and the date on the coupon with a permanent marker. Take a photo of the caliper on the nugget and keep it with the repair file. This record shows the work was checked if anyone asks later.
Test First, Then Weld the Car
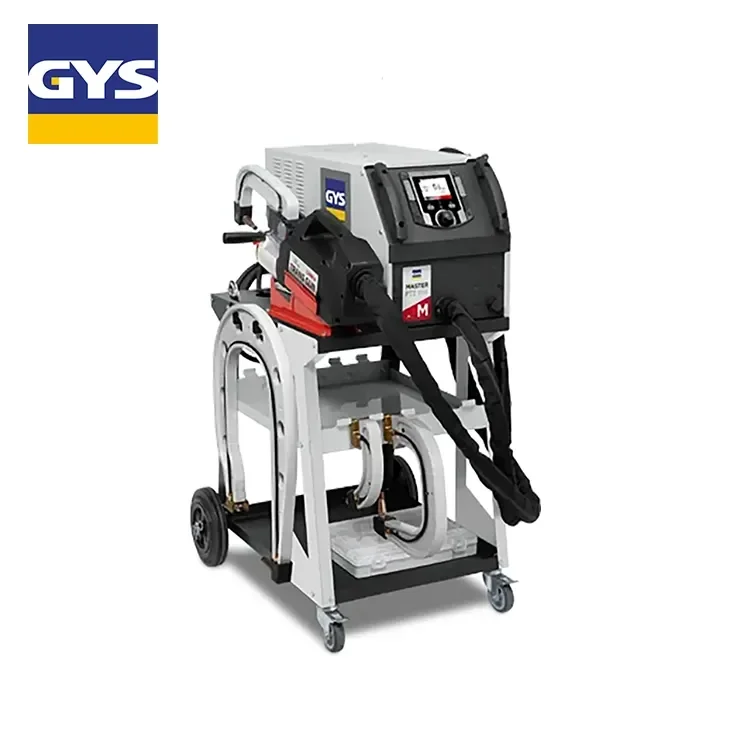
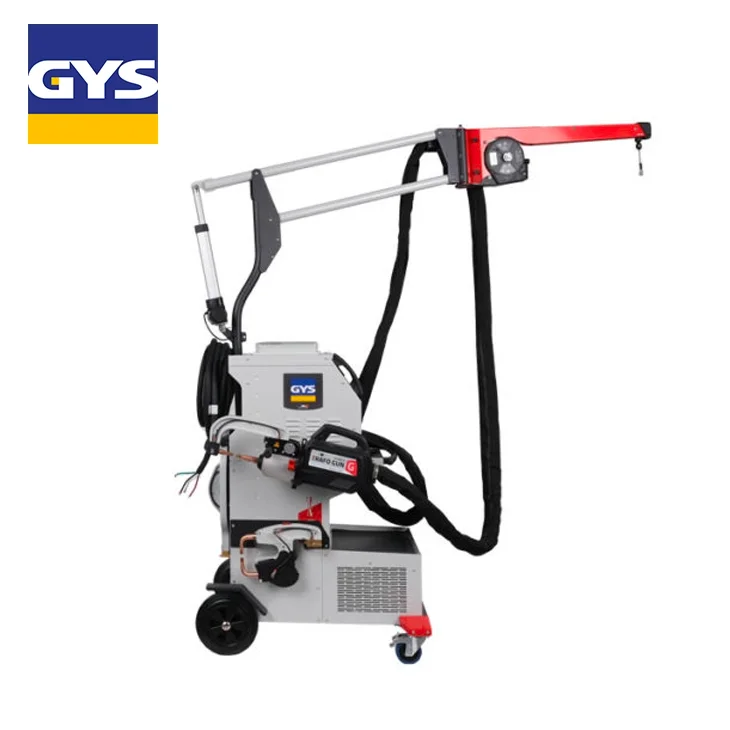
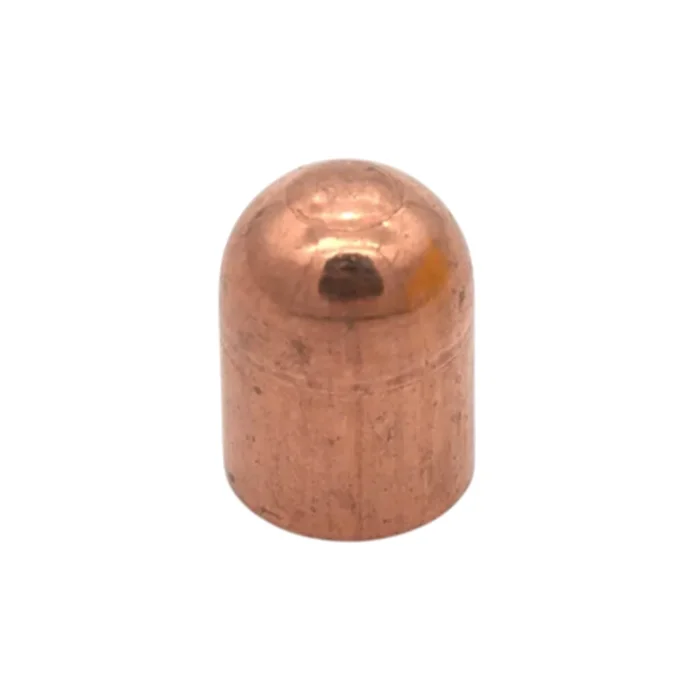
A destructive weld test does not take long, and it protects both the repair and your shop. A welder with enough power and good tips makes passing easier. At Lombard Equipment, we sell GYS spot welders such as the Inverter PTI-G, with up to 14,500 amps, and the PTI Master 240V for shops on 240V power. We also sell PTI-G weld caps in our online store. To set up your welder and get your techs comfortable with test welds, contact our sales team or ask about in-shop training.